English
 Español
 عربى
عربى русский
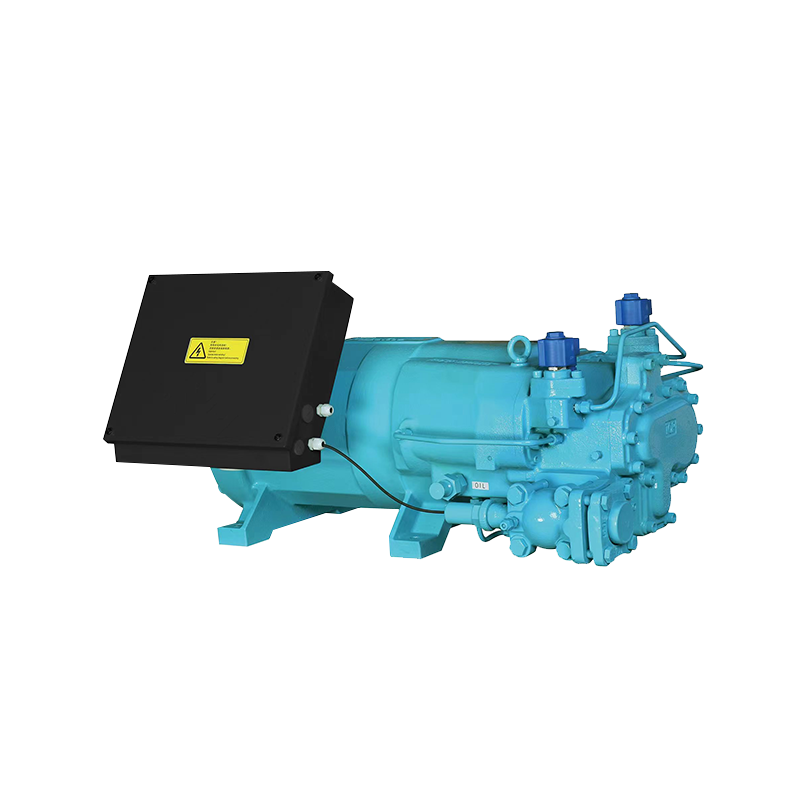
Is your air conditioner's cooling performance significantly worse than before, or even stopped working altogether? It's likely a problem with the air conditioner compressor. As the heart of the air conditioning system, a compressor failure can paralyze the entire system. While replacing an air conditioner compressor is a technical task typically performed by a professional, understanding the steps and precautions involved can help you better diagnose the problem and effectively communicate with the repair technician.
Content
1. Preparation Before Replacement: Sharp Tools First
Before replacing an air conditioner compressor, thorough preparation is crucial.
Tools and Materials
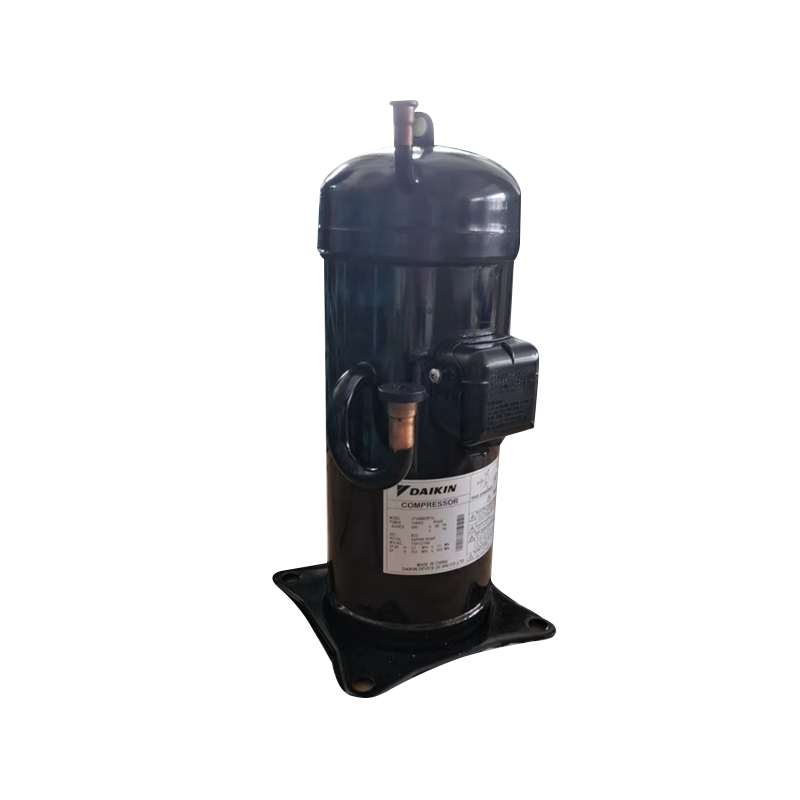
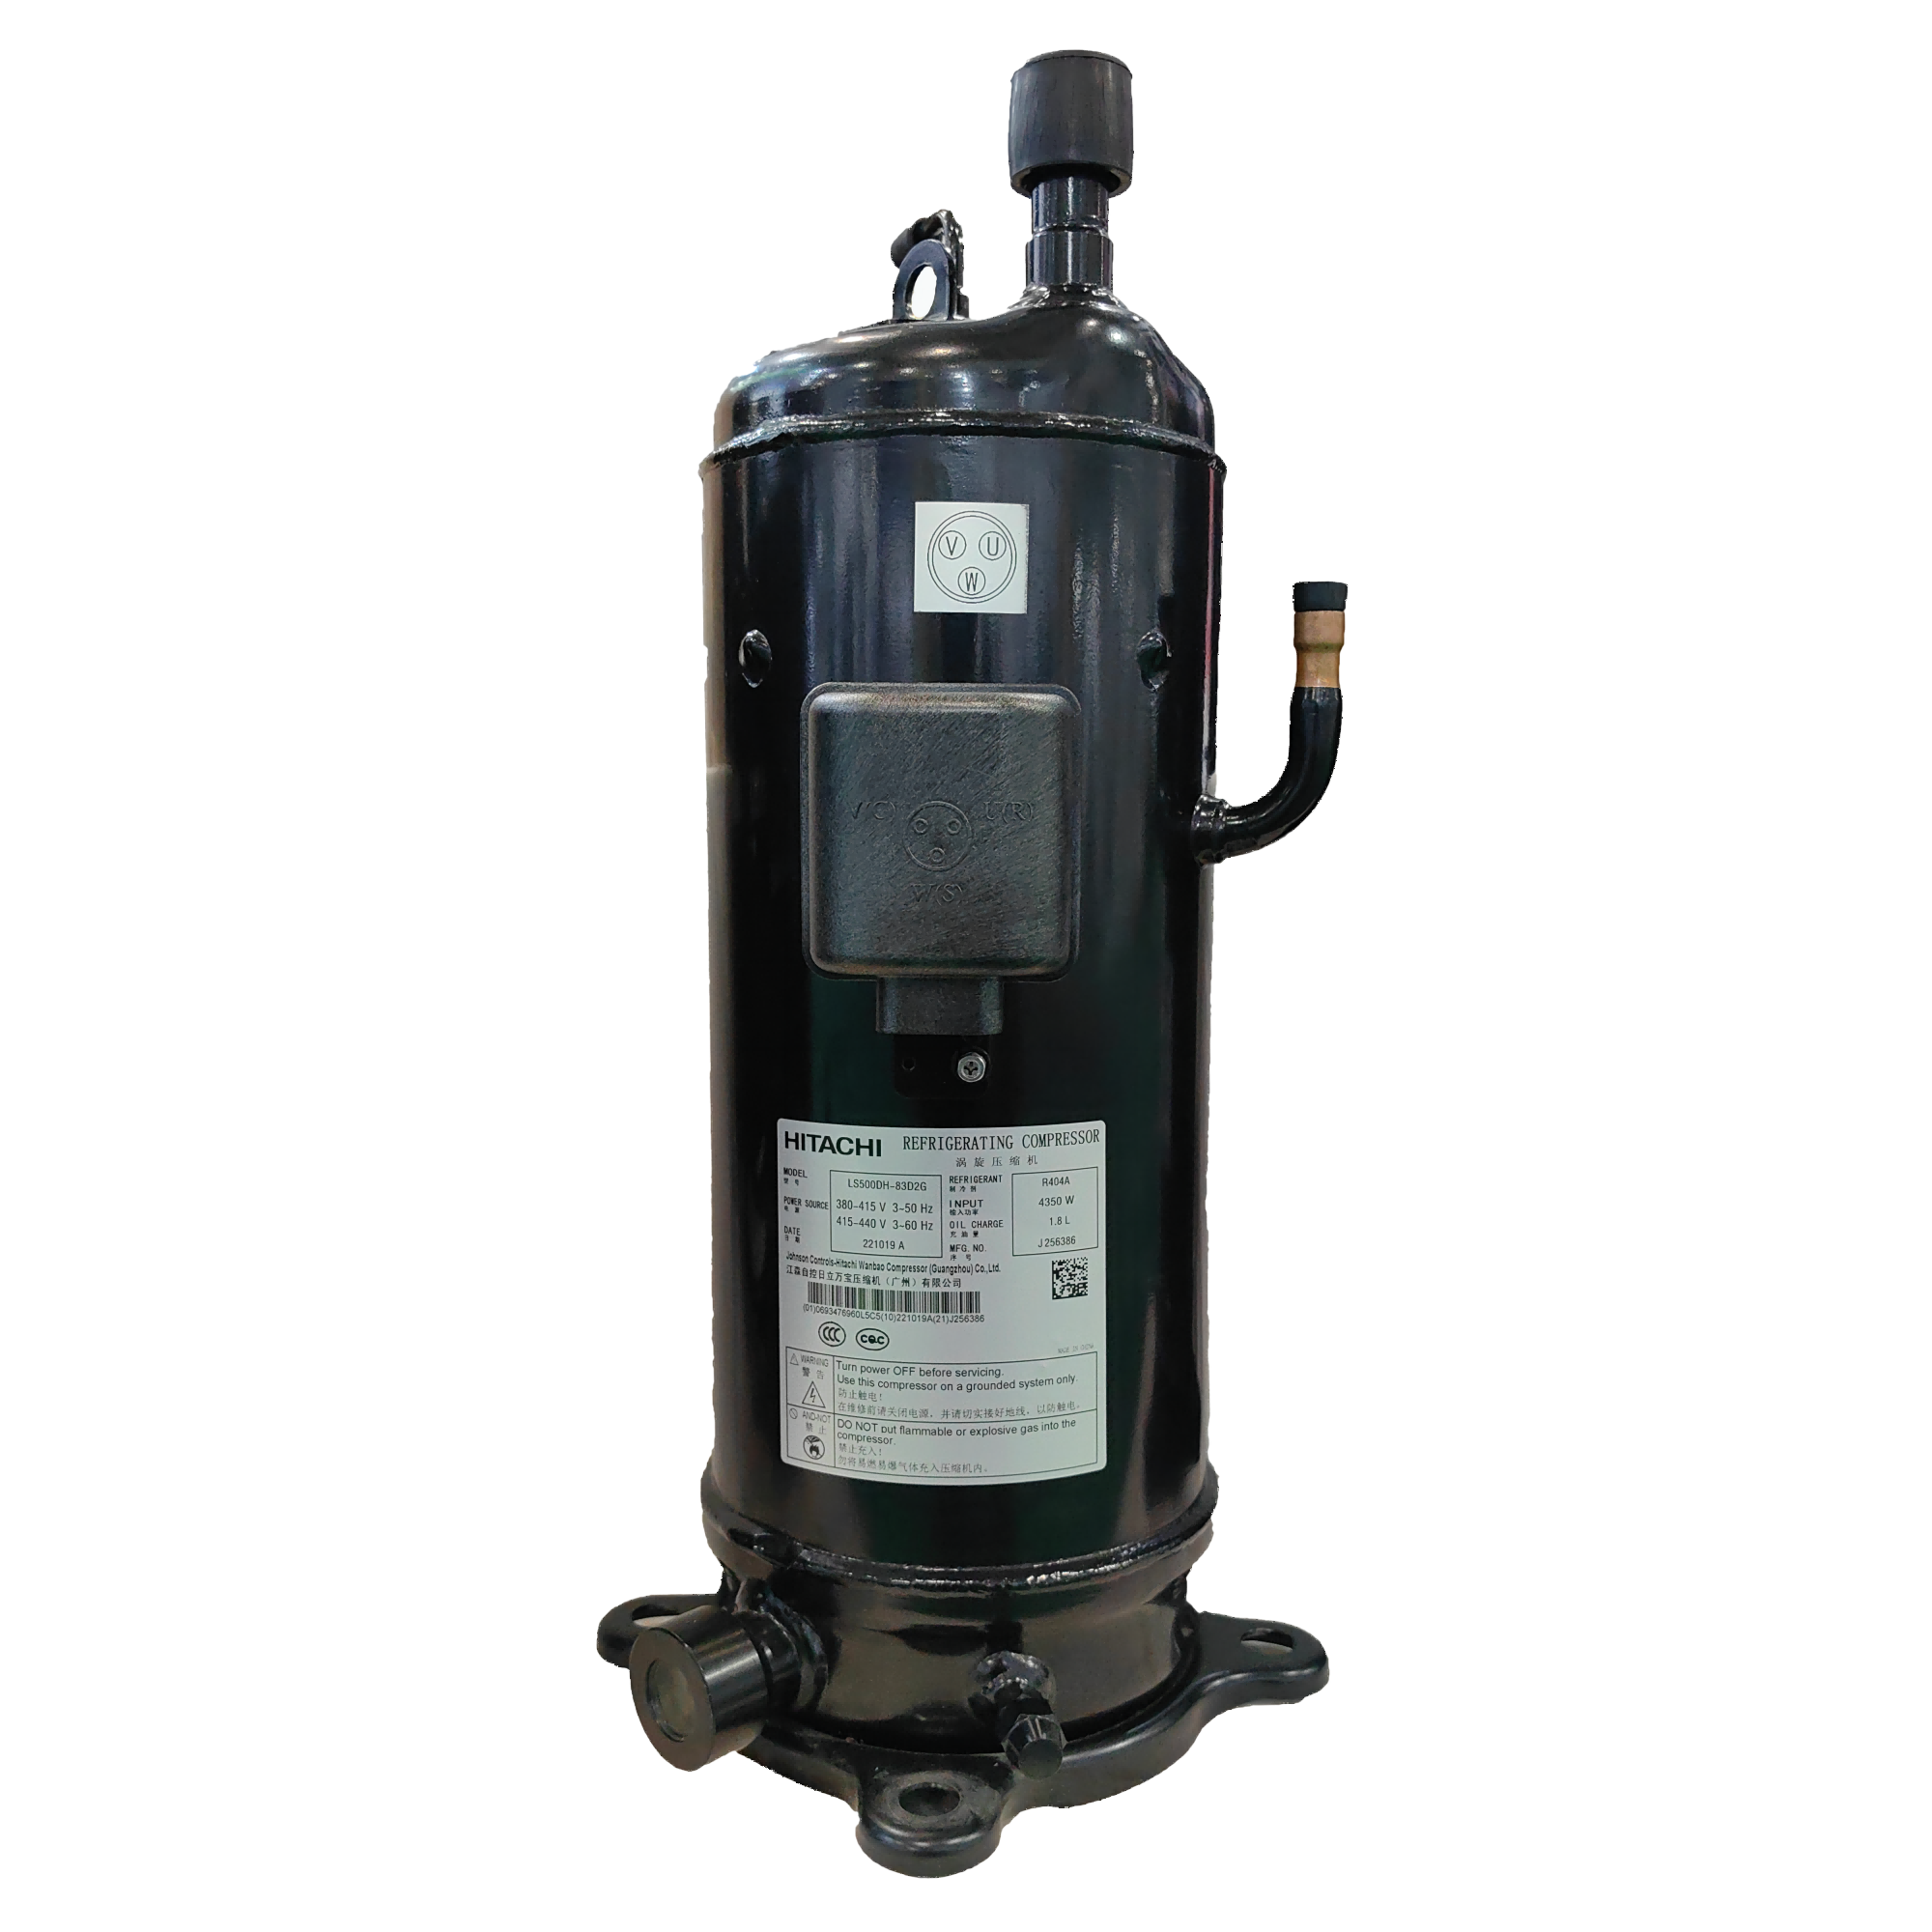
You'll need a specialized pressure gauge, vacuum pump, welding torch, pipe wrench, screwdriver, multimeter, and other tools. Also, don't forget to prepare a new air conditioner compressor, the correct refrigerant for your system, refrigerant oil, and consumables such as welding rods.
Safety Measures
Before any work, disconnect the air conditioner from the power source to avoid electric shock. Wear gloves and goggles when handling refrigerant and refrigerant oil to prevent chemical splashes.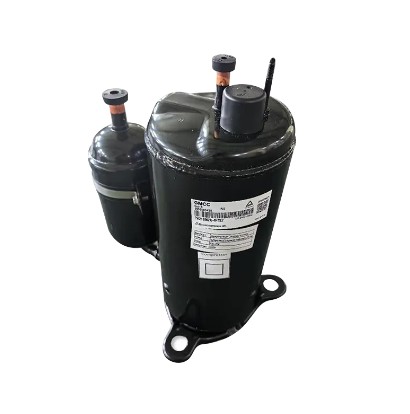
2. Detailed Steps for Replacing an Air Conditioner Compressor
1. Discharging the Old Refrigerant
The first step in replacing an air conditioner compressor is to safely recycle the refrigerant in the old system. This requires the use of professional refrigerant recovery equipment, as directly discharging the refrigerant into the atmosphere can pollute the environment.
2. Disassembling the Old Compressor
After the refrigerant has been recovered, you can begin disassembling the old air conditioner compressor. First, remove the bolts securing the compressor, then carefully disconnect the connecting pipes and wires. During this operation, pay special attention to protecting the pipe connections to prevent dust, moisture, and impurities from entering the system.
3. Installing the New Compressor
Place the new air conditioner compressor in the correct position and secure it with bolts. Next, reconnect the pipes and wires. During this step, ensure that all joints are tight and sealed to prevent future leaks.
4. Vacuuming
Use a vacuum pump to perform a long, evacuated vacuum on the entire air conditioner system to completely remove air and moisture. Air and moisture in the system will mix with the refrigerant, forming acidic substances that can corrode internal components and even cause ice blockage, seriously affecting cooling performance and the life of the compressor.
5. Filling the Refrigerant and Refrigerant Oil
After vacuuming, accurately fill the air conditioner with the appropriate amount of refrigerant and refrigerant oil according to the air conditioner model and manufacturer's specifications. Use a pressure gauge to monitor the filling process and ensure that the system pressure is within the normal range. This ensures the proper operation of the compressor.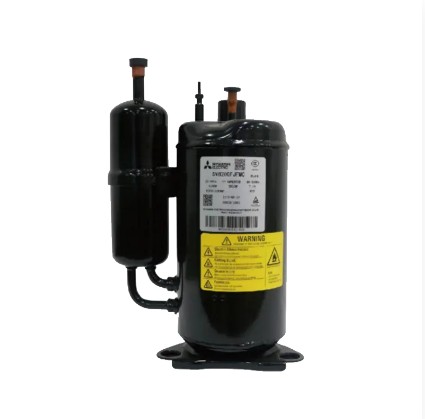
3. Post-Replacement Commissioning and Inspection
1. Operation Test
Power on the air conditioner to check whether the new air conditioner compressor starts and operates normally. Observe the cooling or heating performance and pay attention to any unusual noises.
2. Leak Check
Use a professional leak detector or soapy water to carefully check all connections for leaks. Ensure that there are no refrigerant leaks at all connections. This is important for the long-term stable operation of the air conditioner system.
Replacing an air conditioner compressor is a technical task. If you do not have the professional knowledge and tools, it is recommended that you seek the assistance of a professional repair technician. Regular maintenance can extend the life of your compressor and avoid unnecessary repair expenses. If you are unsure whether your compressor needs to be replaced, you can contact a professional technician for diagnosis.