English
 Español
 عربى
عربى русский
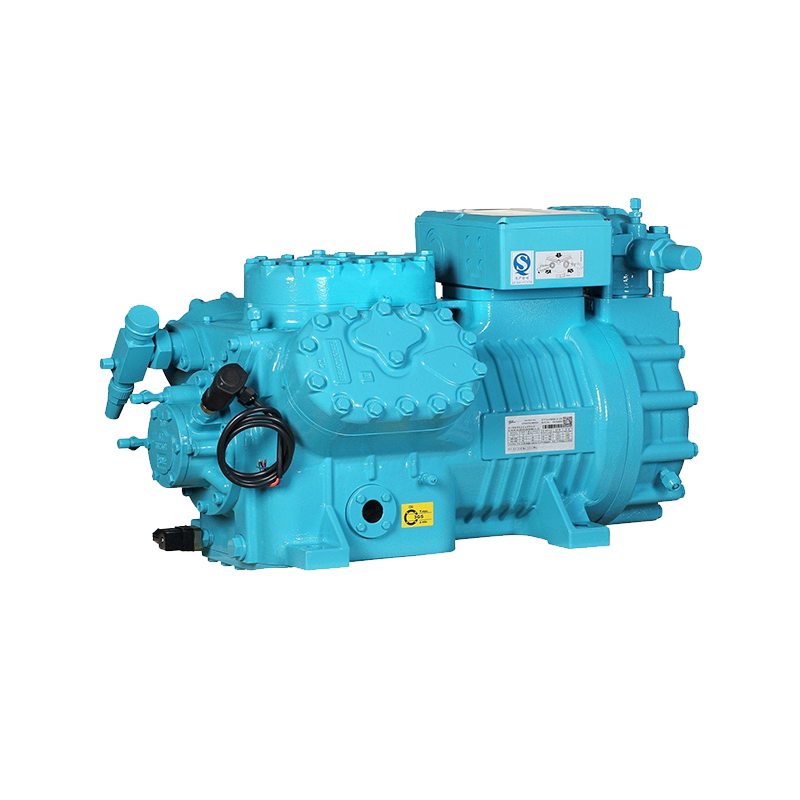
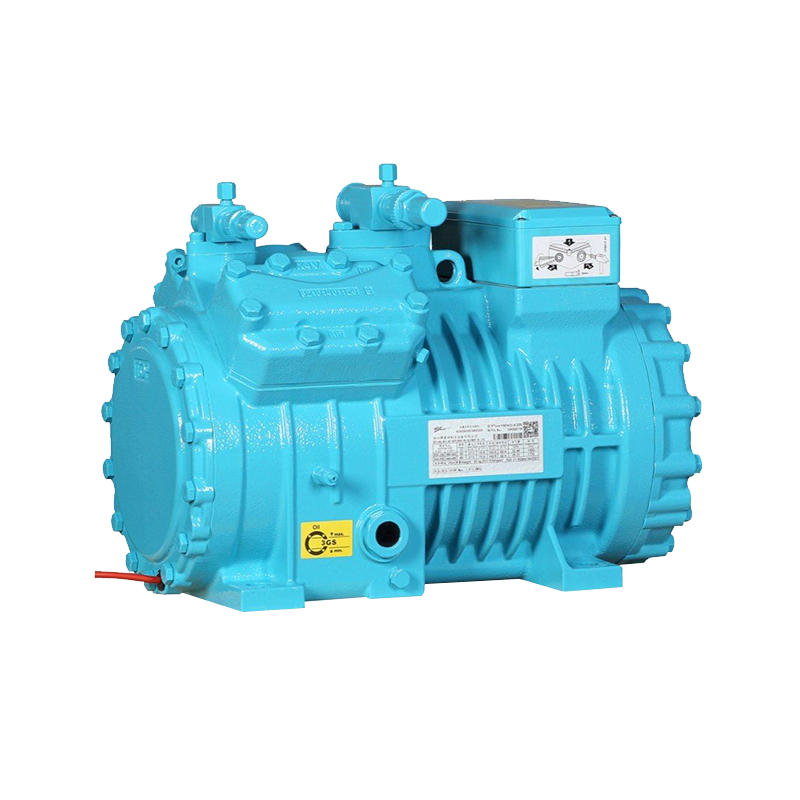
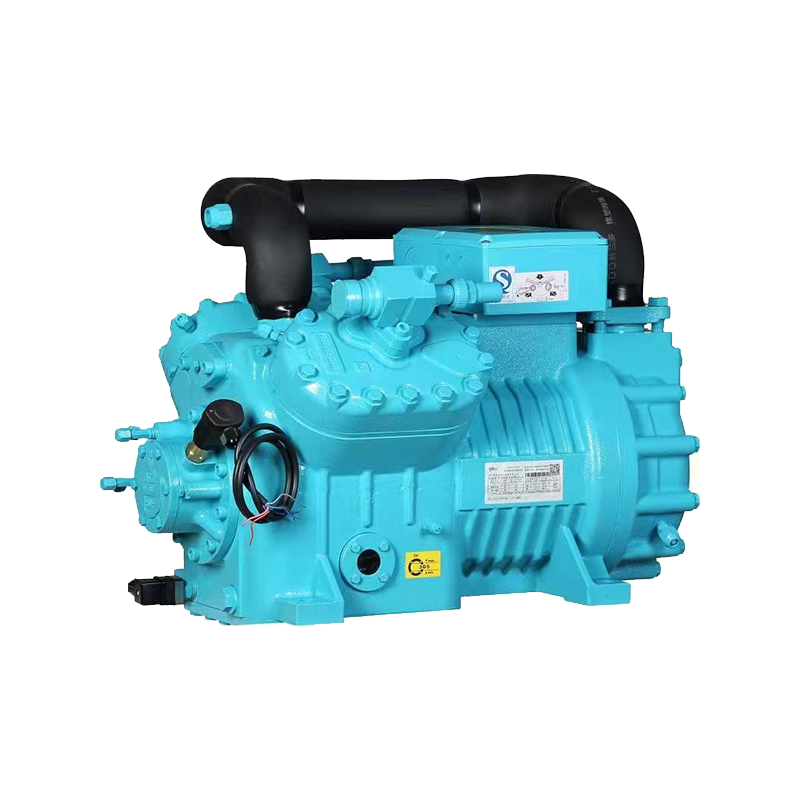
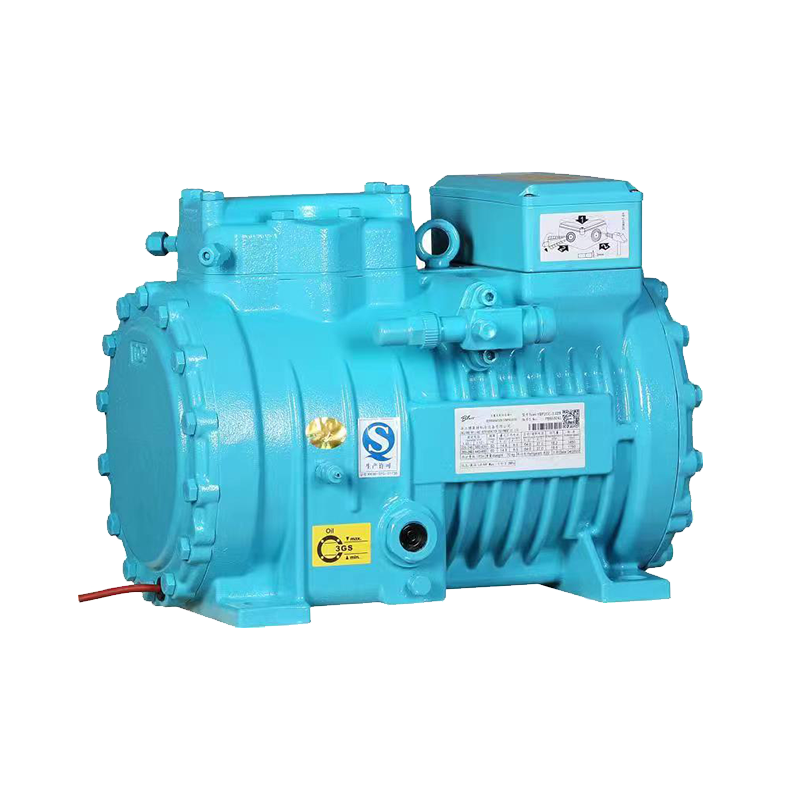
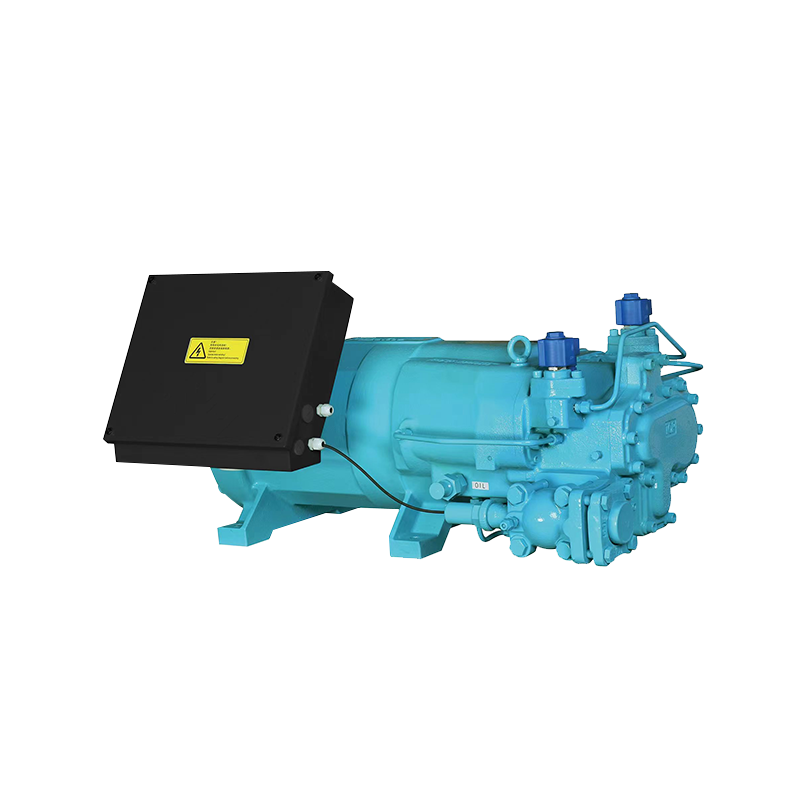
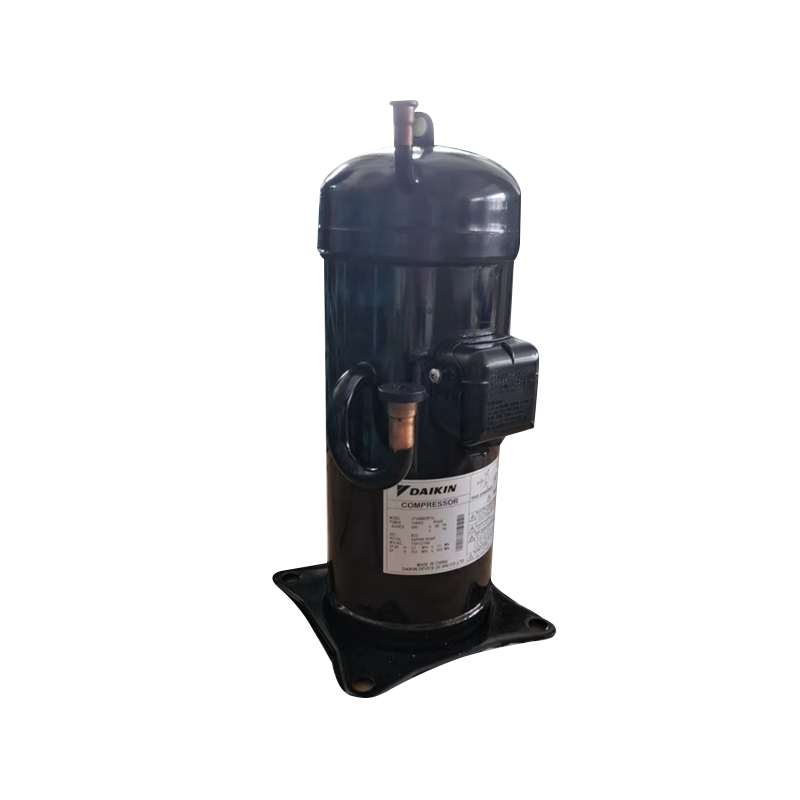
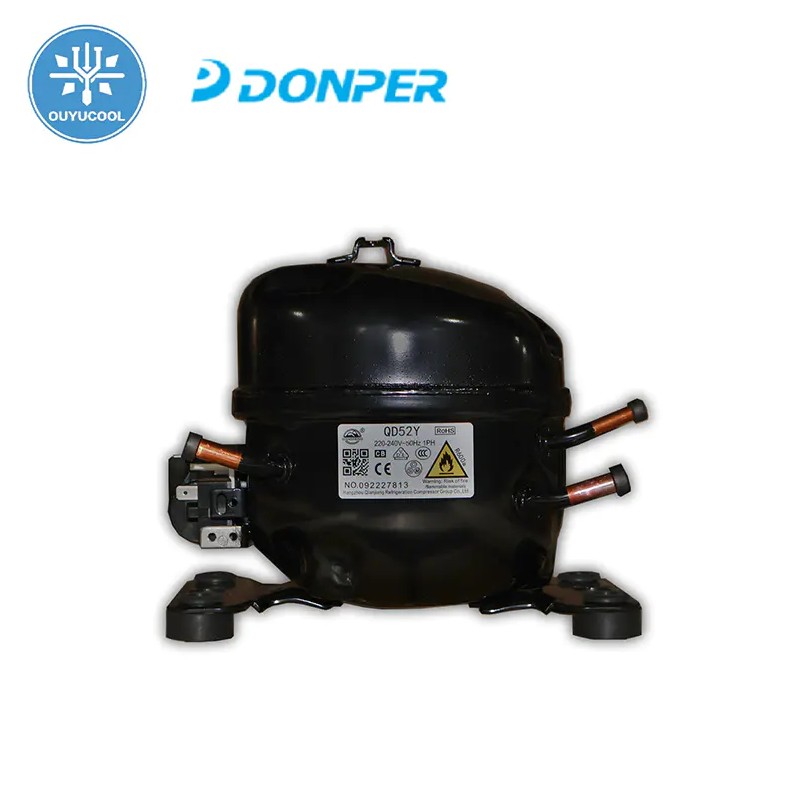
The refrigerator compressor is a core component of the refrigerator. Its proper operation is directly related to the refrigerator's cooling performance. If your refrigerator isn't cooling or is cooling poorly, there's a good chance the compressor is faulty.
Content
Preparation
Before testing your refrigerator compressor, you'll need the following tools:
- Multimeter: Used to measure voltage, resistance, and current.
- Clamp-on ammeter: Used to measure the current drawn by the compressor during startup and operation.
- Screwdriver: Used to remove the refrigerator's back cover or compressor cover.
Testing the Compressor's Starting Capacitor
- Disconnecting the power supply: For safety reasons, first unplug the refrigerator.
- Locate the capacitor: This is a black or white cylindrical object usually located next to the refrigerator compressor.
- Discharging: Use a screwdriver to short-circuit the two leads of the capacitor to discharge the capacitor.
- Measuring capacitance: Set the multimeter to the capacitance setting and measure the capacitance. If the measured value differs significantly from the nominal value on the capacitor, or is zero, the capacitor is damaged.
Testing Compressor Coil Resistance
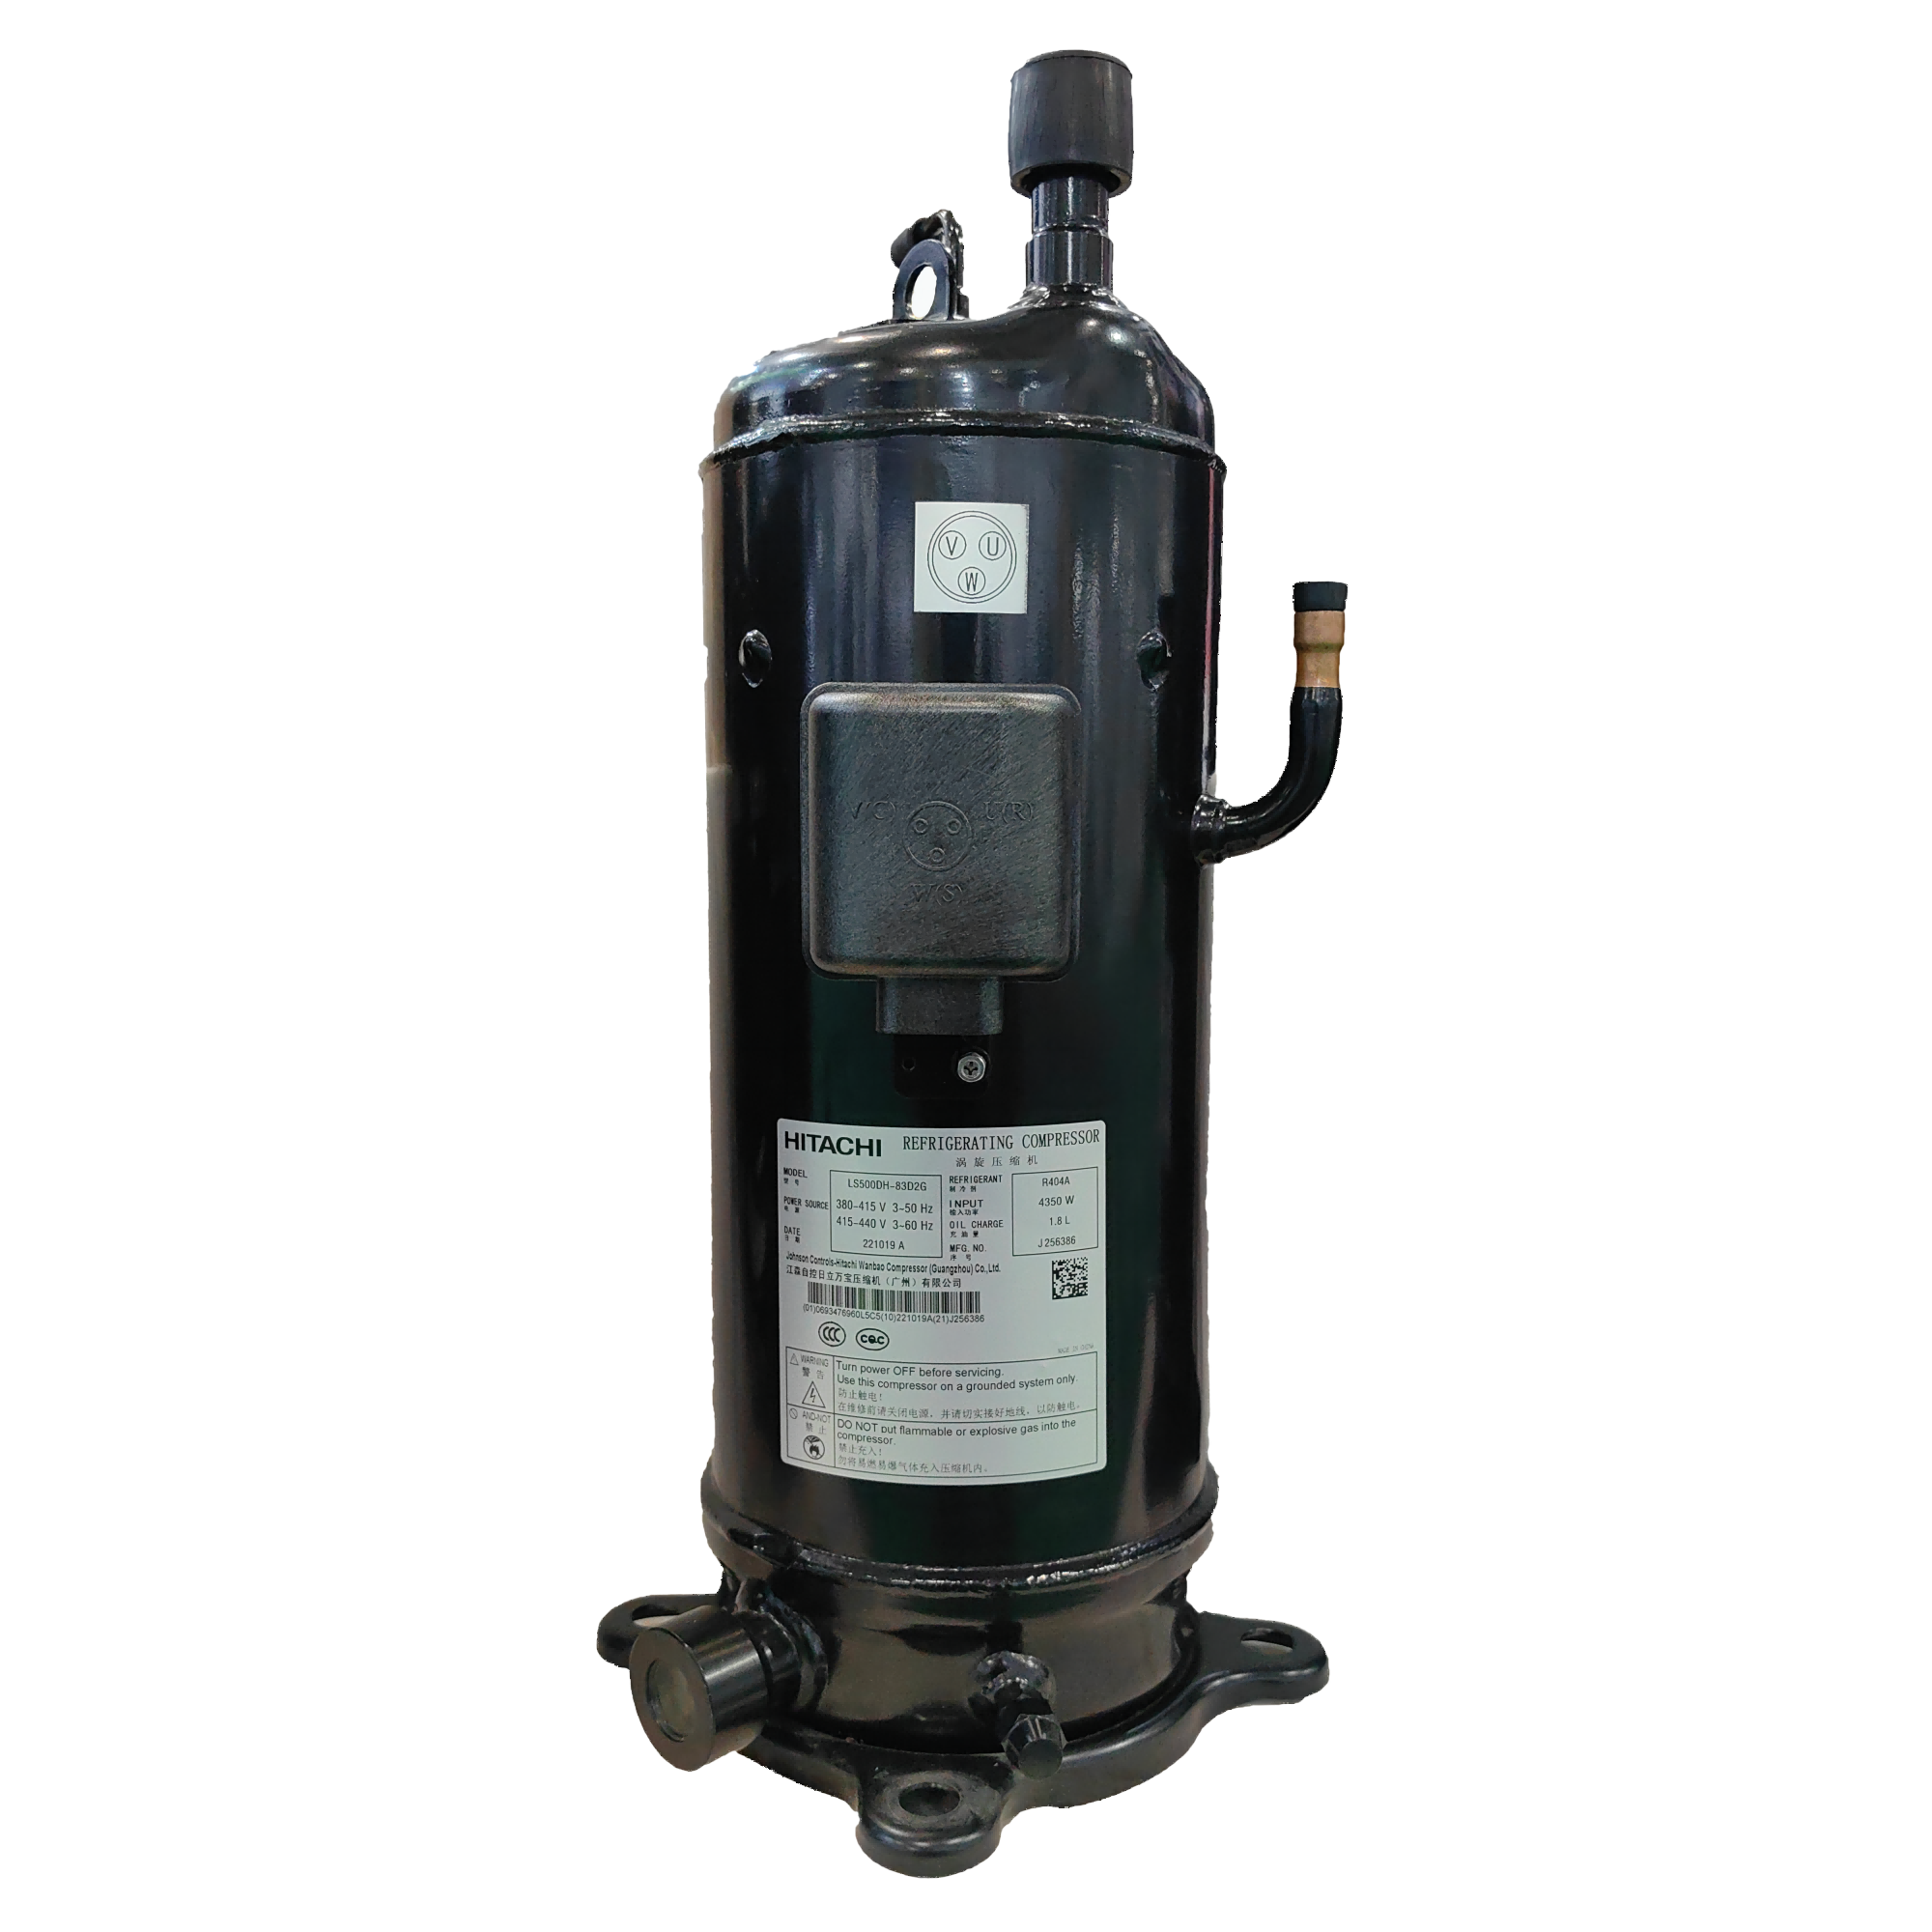
A refrigerator compressor has three terminals inside: common (C), start (S), and run (R). Measuring the resistance between these terminals can determine whether the compressor coil is functioning properly.
Identifying the Terminals
Typically, the common (C) is at the top, and the start (S) and run (R) terminals are at the bottom.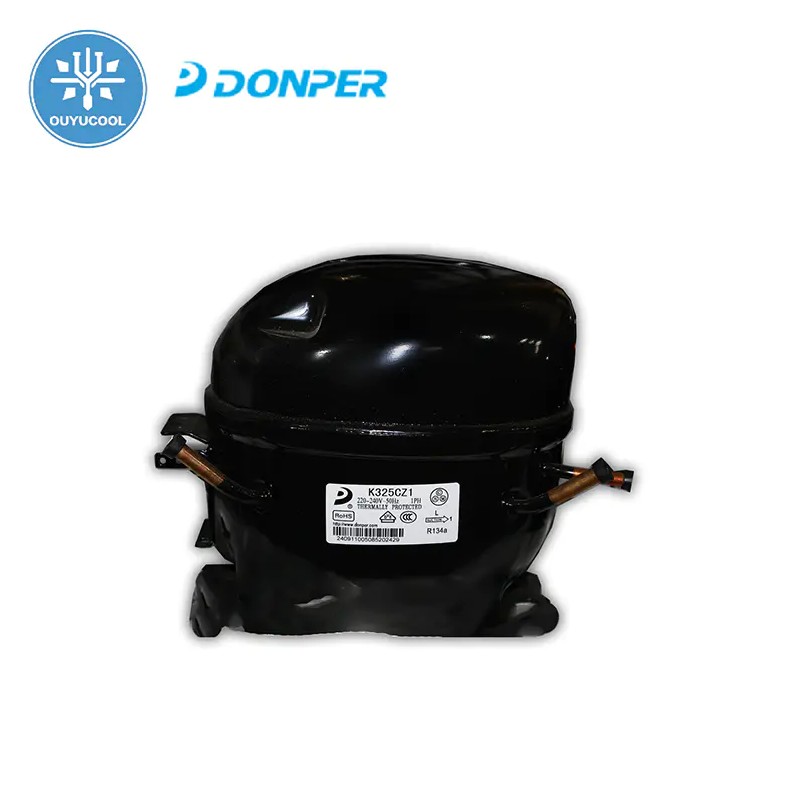
Measuring Resistance
- Set your multimeter to the resistance setting.
- Measure the resistance (Rcs) between the common (C) and start (S).
- Measure the resistance (Rcr) between the common (C) and run (R).
- Measure the resistance (Rsr) between the start (S) and run (R).
Analysis
- Normal, Rsr = Rcs + Rcr.
- If any resistance value approaches infinity, the coil is open. If any resistance value is close to zero, the coil is shorted.
- You can also measure the resistance between the coil and the compressor housing. If the resistance value is very low, the coil is shorted to ground and the refrigerator compressor needs to be replaced.
Testing the Compressor's Starting and Running Current
- Connecting a Clamp-on Amperemeter: Clamp the clamp-on amperemeter to the compressor's power cord.
- Power-on Test: Plug the refrigerator in and observe the amperemeter reading.
Analysis Results
- Starting Current: The current drawn by the refrigerator compressor during startup will be much higher than the normal operating current. If the starting current is too high or too low, it may indicate a compressor fault.
- Running Current: The current drawn by the compressor during normal operation should match the rated current on the nameplate. If the running current is consistently high, there may be a mechanical problem with the compressor or a blockage in the refrigeration system. If the running current is consistently low, it may indicate a refrigerant leak.
Common Fault Symptoms and Diagnosis
- Refrigerator Not Cooling: If the compressor does not start, or stops quickly after starting, it may be a problem with the compressor itself or the starting circuit.
- Noisy Refrigerator Compressor: If the compressor noise increases abnormally during operation, it may be due to severe mechanical wear and may need to be replaced.
- Compressor Frequent Starts and Stops: If the compressor starts and stops frequently, it may be due to a thermostat failure, activation of the overheating protector, or inefficiency of the compressor itself.
Using these methods, you can conduct a comprehensive inspection of your refrigerator compressor. If the test confirms a problem with the compressor, the best approach is to seek professional repair assistance or consider replacing the compressor. Regular inspection and maintenance of your refrigerator can extend the life of the compressor and ensure continued efficient operation.