English
 Español
 عربى
عربى русский
Choosing and sizing a condensing unit comes down to three core factors: matching the unit's cooling capacity (in BTU/h or tons) to your heat load, selecting the correct refrigerant for your application, and ensuring the ambient operating conditions align with the unit's rated performance range. Get these three right, and you'll have a reliable, energy-efficient system. Miss any one of them, and you'll face chronic underperformance, compressor failure, or excessive energy bills.
This guide walks through every key decision point — from calculating heat load to comparing unit types — so you can select a condensing unit with confidence.
Content
- 1 What Is a Condensing Unit and What Does It Do?
- 2 Step 1 — Calculate Your Heat Load Accurately
- 3 Step 2 — Determine the Required Evaporating and Condensing Temperatures
- 4 Step 3 — Choose the Right Refrigerant
- 5 Step 4 — Select the Correct Unit Type for Your Application
- 6 Step 5 — Account for Ambient Temperature and Location Conditions
- 7 Step 6 — Evaluate Efficiency Ratings and Operating Costs
- 8 Step 7 — Verify Electrical and Mechanical Compatibility
- 9 Common Sizing Mistakes to Avoid
- 10 Summary: A Practical Sizing Checklist
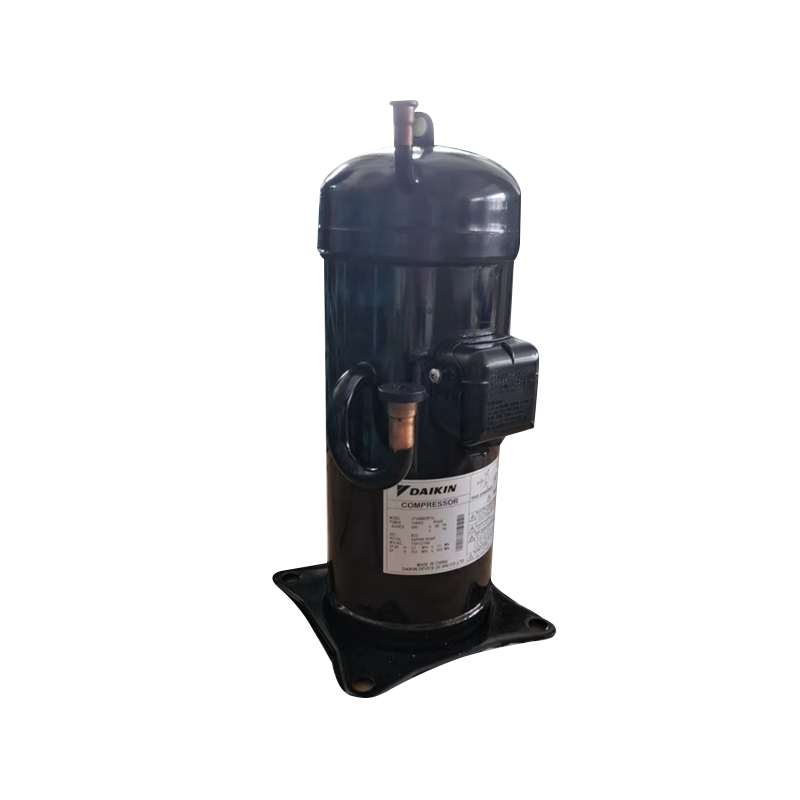
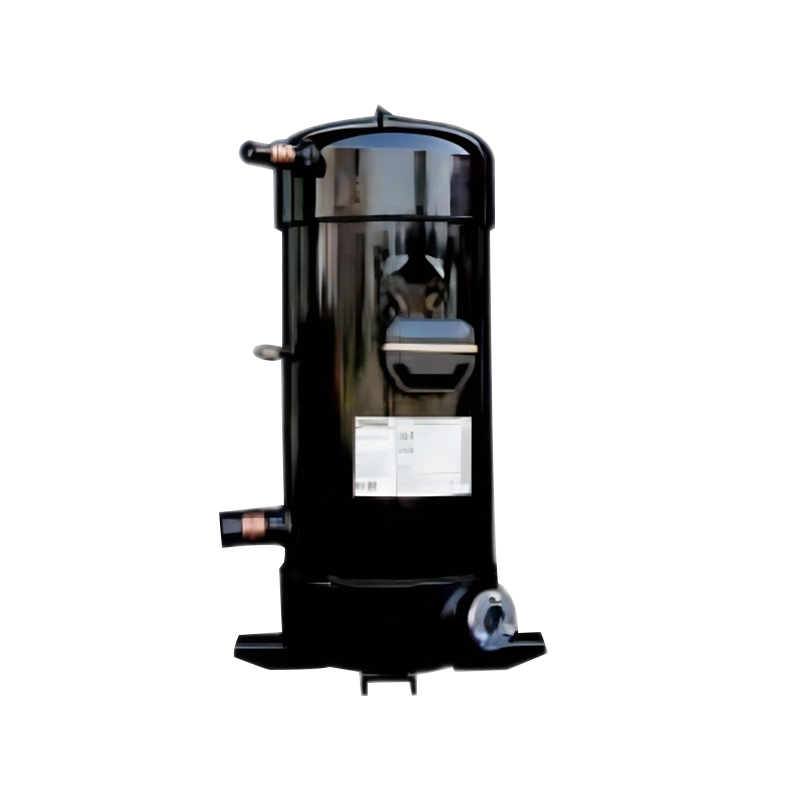
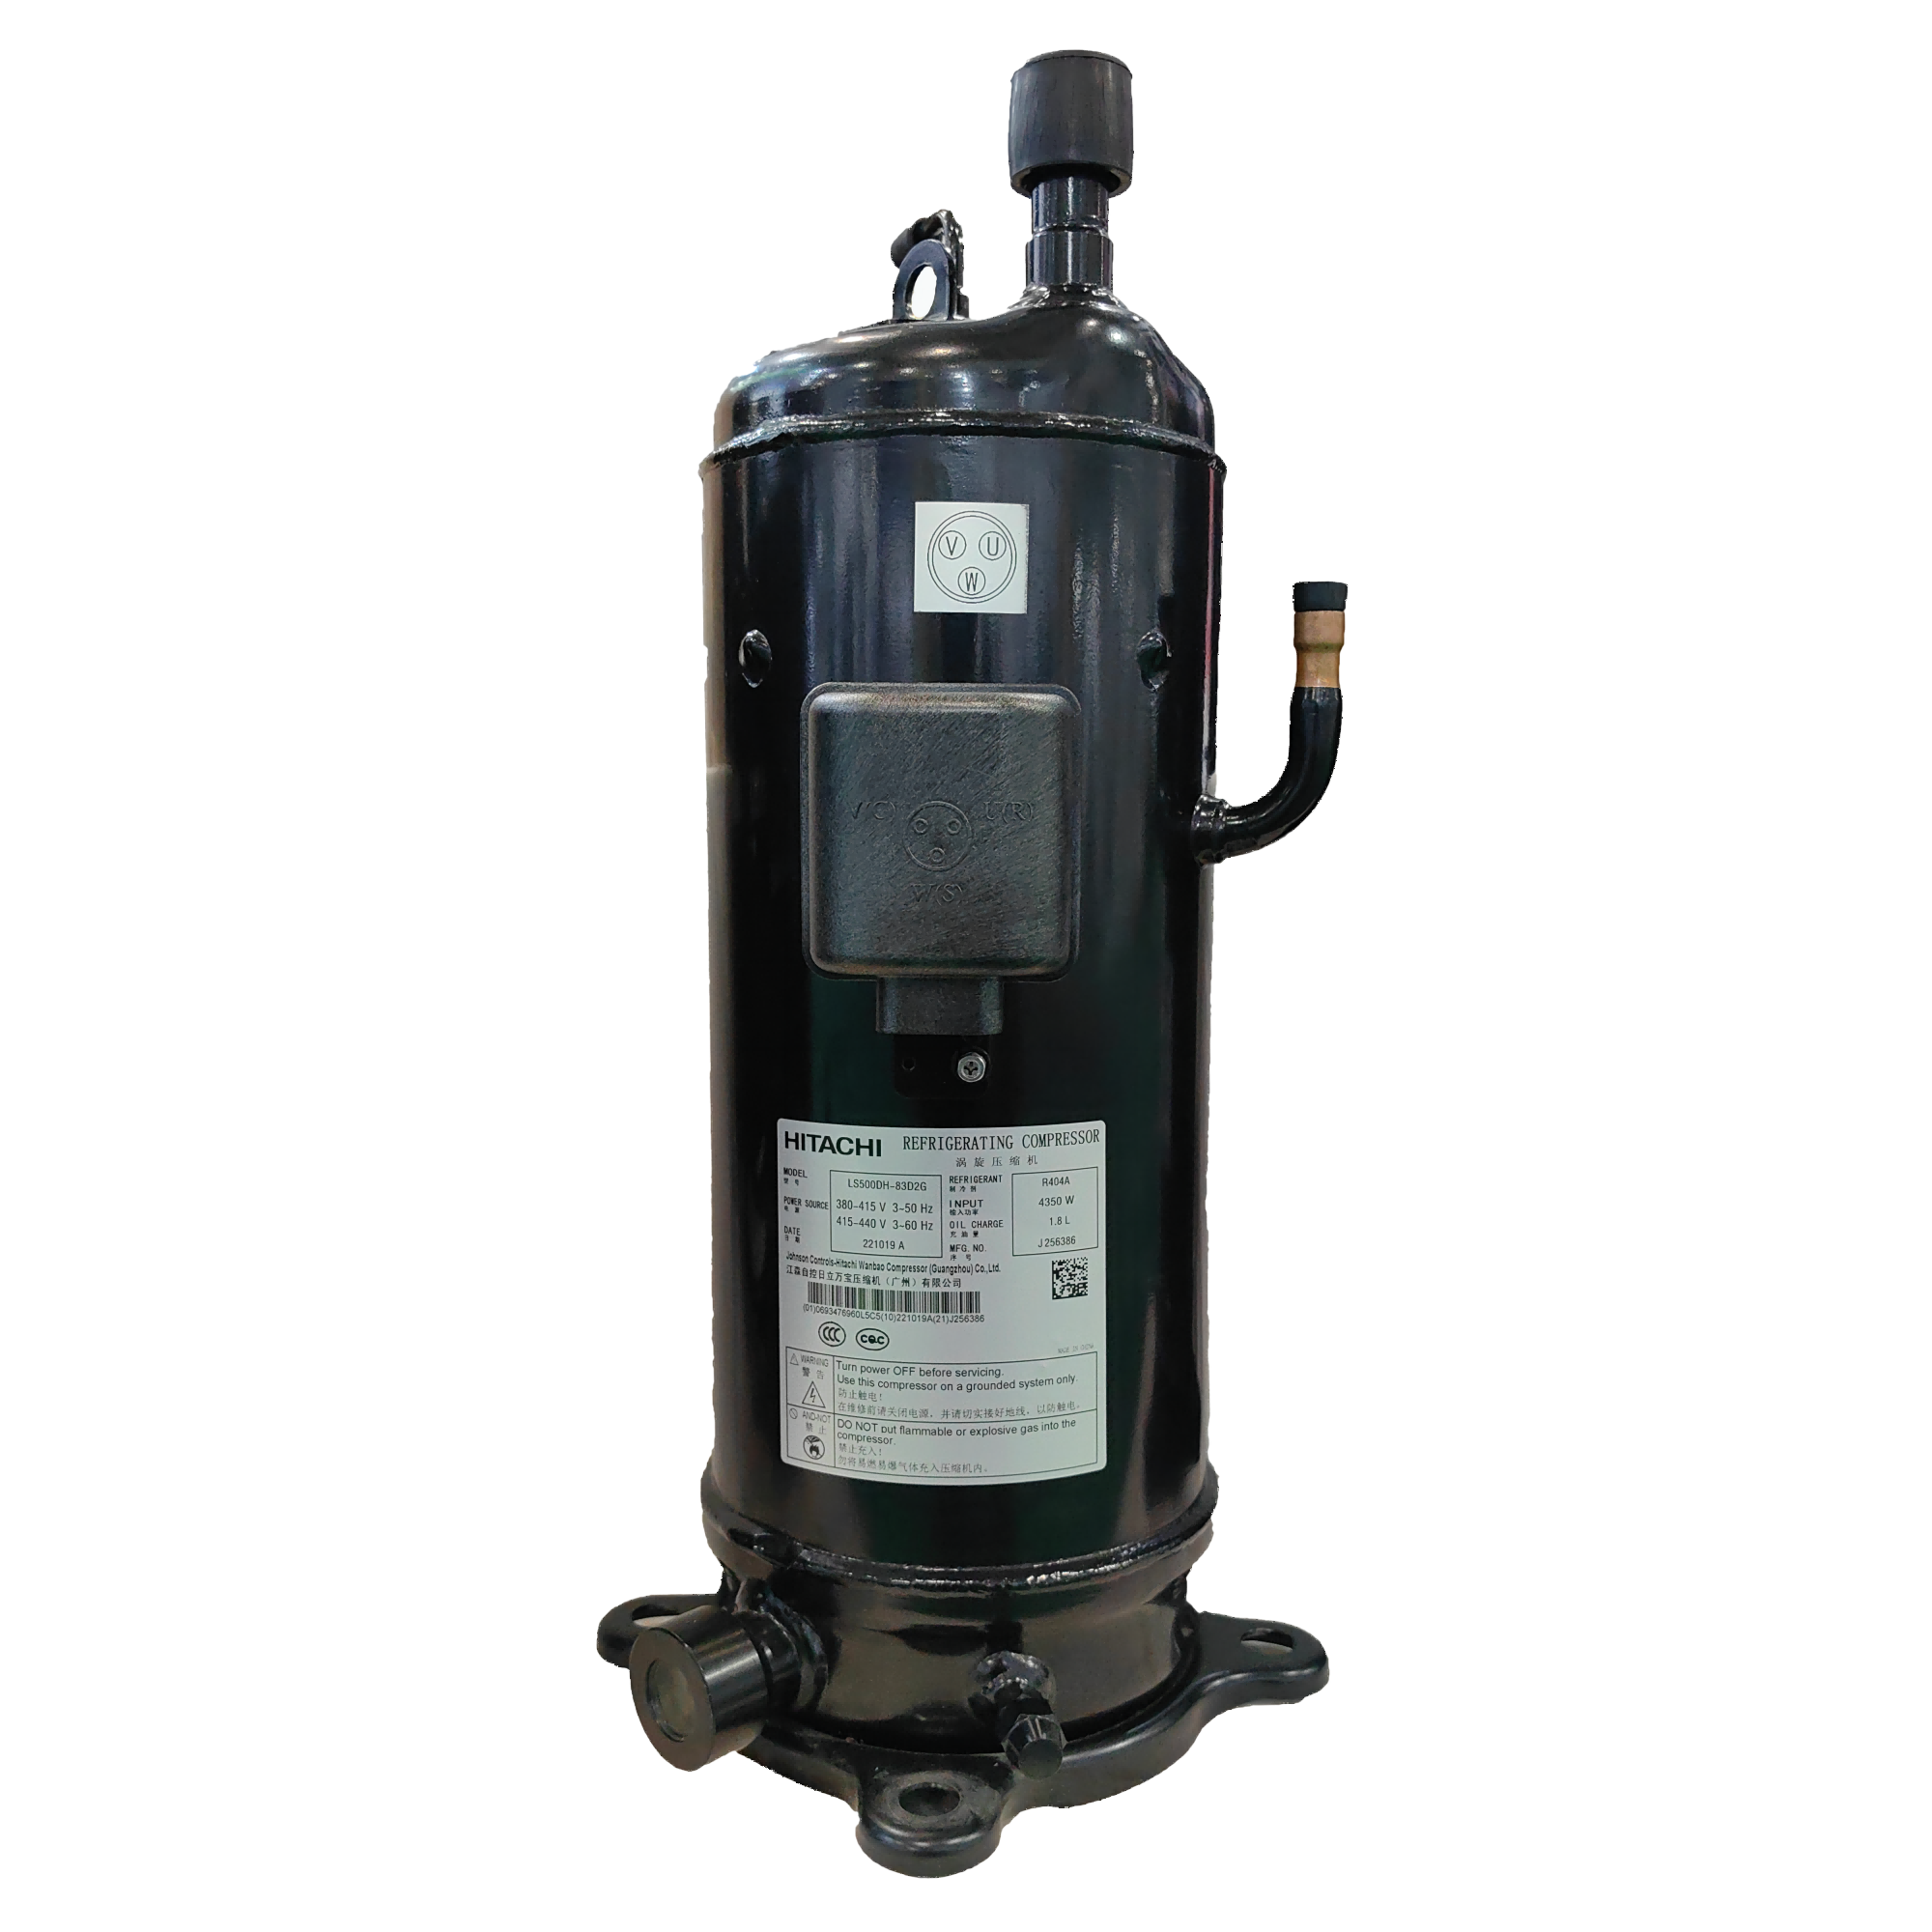
What Is a Condensing Unit and What Does It Do?
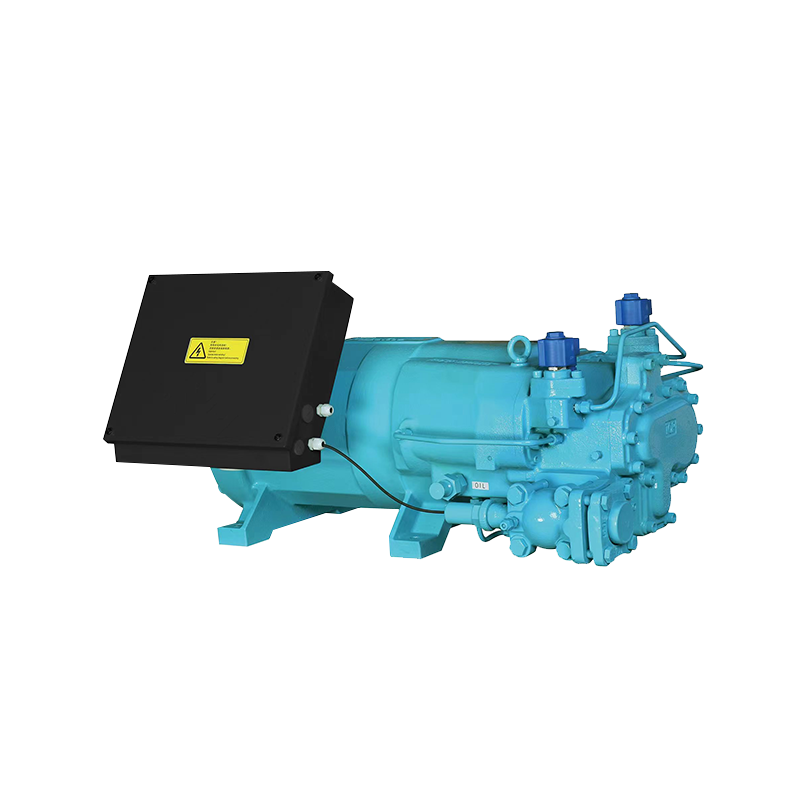
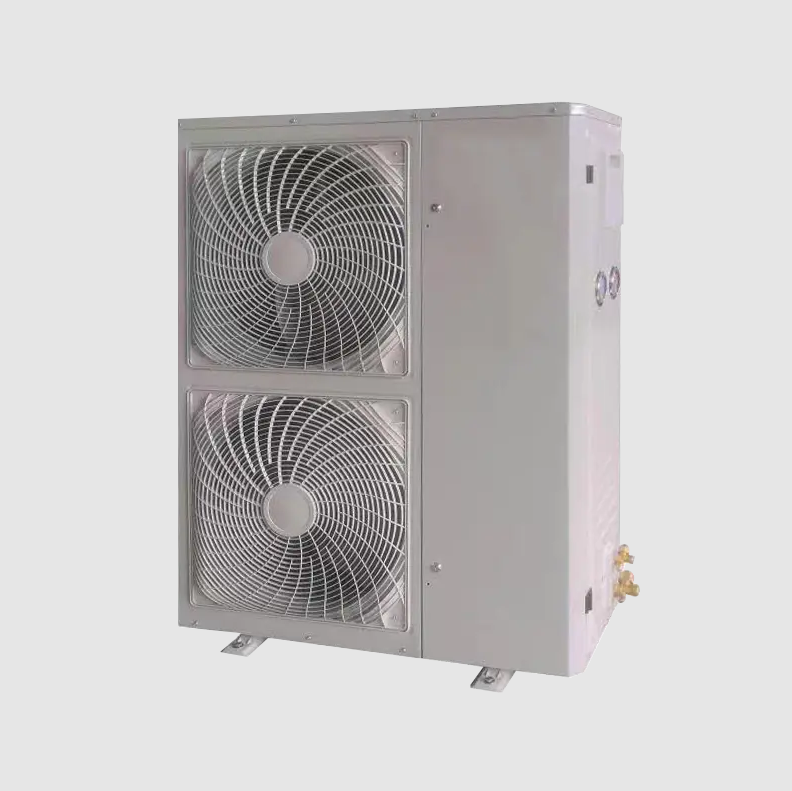
A condensing unit is the outdoor (or remote) section of a refrigeration or air conditioning system. It houses the compressor, condenser coil, condenser fan(s), and controls. Its job is to reject heat absorbed by the evaporator — the indoor side — back into the surrounding environment.
Condensing units are used in a wide range of applications:
- Commercial refrigeration (walk-in coolers, display cases, cold storage warehouses)
- Air conditioning for commercial and light industrial buildings
- Process cooling (food processing, pharmaceutical, chemical industries)
- Low-temperature freezer applications
Understanding the application type is the first step, because it directly determines the required evaporating temperature, refrigerant selection, and capacity range.
Step 1 — Calculate Your Heat Load Accurately
Undersizing a condensing unit by even 10–15% can cause the compressor to run continuously, dramatically shortening its lifespan. Oversizing by more than 20% leads to short cycling, poor humidity control, and wasted capital expenditure. Accurate heat load calculation is non-negotiable.
Heat Load Components to Account For
- Transmission load: Heat entering through walls, floors, and ceilings based on insulation R-value, surface area, and the temperature differential (ΔT) between inside and outside.
- Infiltration load: Heat from air exchange when doors open. A walk-in cooler door opened 8 times per hour can add 15–25% to the total load.
- Product load: Heat from warm product being introduced and pulled down to storage temperature. This is often the largest peak load component.
- Internal heat sources: Lighting (LED fixtures generate roughly 3.4 BTU/h per watt), motors, and people working inside the space.
- Safety factor: Add 10–15% to the calculated total to account for real-world variables and future load growth.
Quick Reference: Typical Heat Load Ranges by Application
| Application | Typical Box Temp | Approx. Load (BTU/h per 100 sq ft) |
|---|---|---|
| Walk-in cooler (produce) | 35–38°F (2–3°C) | 1,200–2,000 |
| Walk-in freezer | -10 to 0°F (-23 to -18°C) | 2,500–4,500 |
| Flower cooler | 34–36°F (1–2°C) | 900–1,500 |
| Beverage cooler | 38–45°F (3–7°C) | 800–1,200 |
| Commercial AC (office) | 72–75°F (22–24°C) | 400–600 |
Step 2 — Determine the Required Evaporating and Condensing Temperatures
Condensing unit capacity ratings are always published at specific operating conditions — a defined evaporating temperature (ET) and condensing temperature (CT). If you select a unit based on a rating condition that doesn't match your actual application, the real-world capacity can be 20–40% lower than what's listed on the spec sheet.
Evaporating Temperature (ET)
ET is the refrigerant temperature inside the evaporator coil. As a rule of thumb, ET runs approximately 8–12°F (4–7°C) below the desired box temperature for medium-temperature applications, and up to 20°F (11°C) below for freezers. For a 35°F walk-in cooler, you'd typically design for an ET of 23–27°F (-5 to -3°C).
Condensing Temperature (CT)
CT is the temperature at which refrigerant condenses in the outdoor coil. It depends on ambient temperature plus the approach temperature of the condenser (typically 15–30°F / 8–17°C above ambient). For a rooftop location in a region with 95°F (35°C) summer design temperatures, plan for a CT of 115–125°F (46–52°C).
Always select the unit using capacity tables that correspond to your actual ET and CT — not the headline rating shown prominently in marketing materials, which often assumes favorable conditions.
Step 3 — Choose the Right Refrigerant
Refrigerant choice is increasingly driven by environmental regulations. Many older refrigerants have been phased down or banned, and selecting a unit designed for a refrigerant without a long regulatory future creates a costly stranded asset.
| Refrigerant | GWP | Typical Application | Regulatory Status (as of 2025) |
|---|---|---|---|
| R-404A | 3,922 | Commercial refrigeration | Being phased out in many markets |
| R-448A / R-449A | 1,273–1,397 | Drop-in replacement for R-404A | Transitional; acceptable mid-term |
| R-410A | 2,088 | Air conditioning | Phase-down underway in EU, US |
| R-454B / R-32 | 467–675 | AC replacement for R-410A | Recommended for new installations |
| R-744 (CO₂) | 1 | Supermarket / cold store | Preferred long-term option |
For new commercial refrigeration installations in most markets, specifying units compatible with low-GWP refrigerants (GWP below 750) is the future-proof choice and may already be legally required in your jurisdiction.
Step 4 — Select the Correct Unit Type for Your Application
Condensing units are categorized primarily by temperature range and installation type. Choosing the wrong category — for instance, using a medium-temperature unit on a freezer application — will result in a system that can never reach setpoint.
By Temperature Range
- High-temperature units: Designed for air conditioning and process cooling above 45°F (7°C) box temp. Operate with evaporating temperatures of 25–55°F (-4 to 13°C).
- Medium-temperature units: Used for coolers and refrigerators in the 32–50°F (0–10°C) range. Evaporating temperatures typically 15–30°F (-9 to -1°C).
- Low-temperature units: Designed for freezers operating at -20 to 10°F (-29 to -12°C). These use compressors specifically rated for operation at very low suction pressures and typically require additional features like crankcase heaters and suction line accumulators.
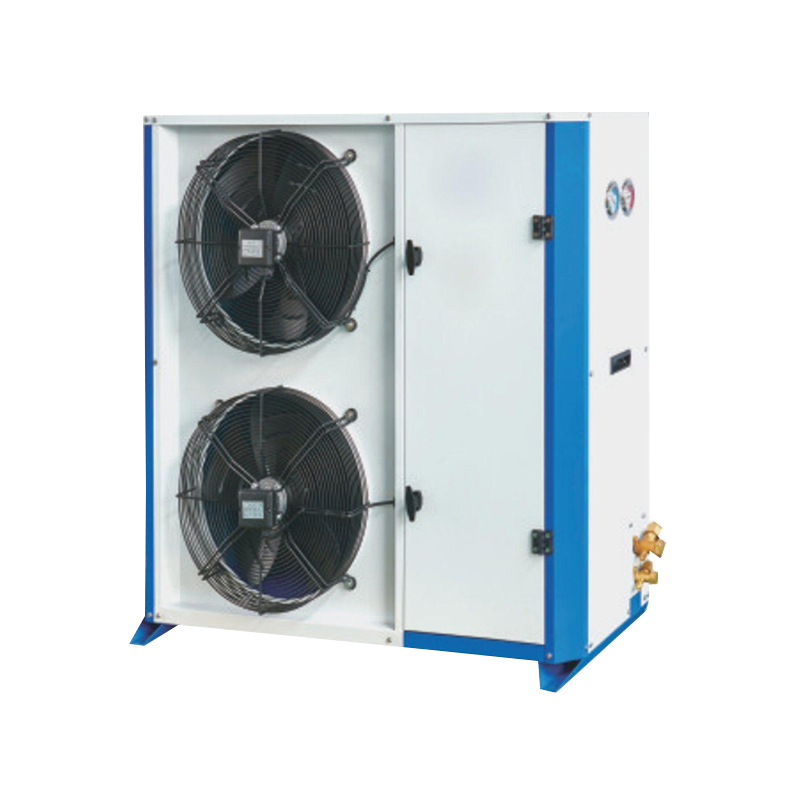
By Installation Type
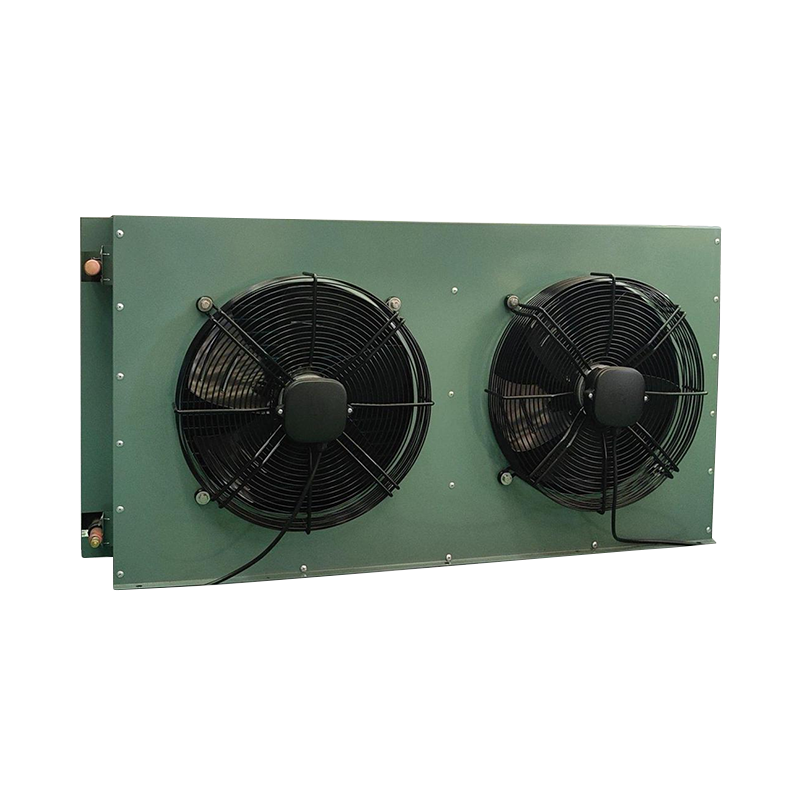
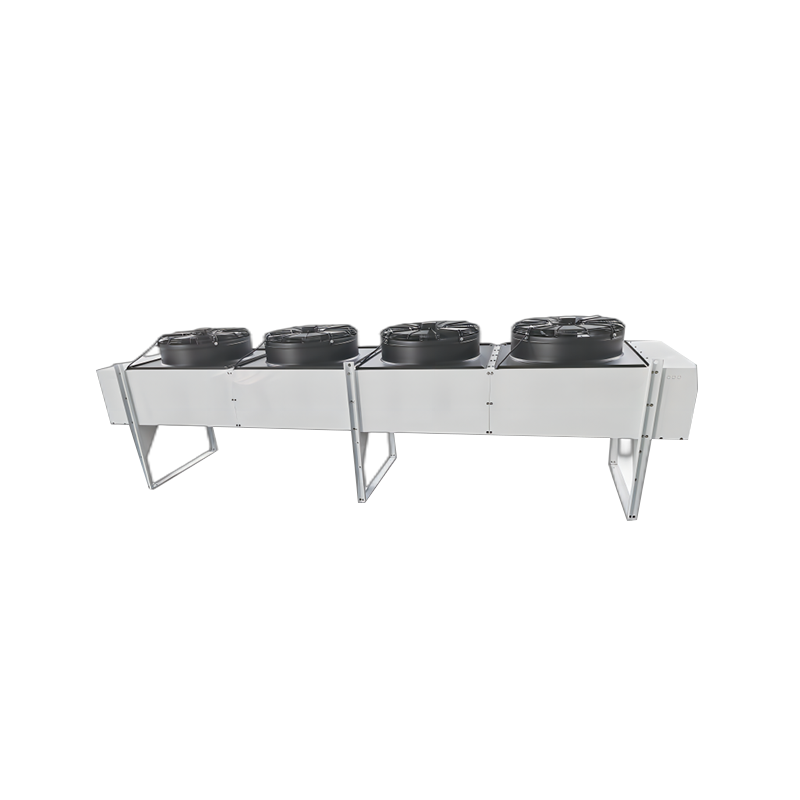
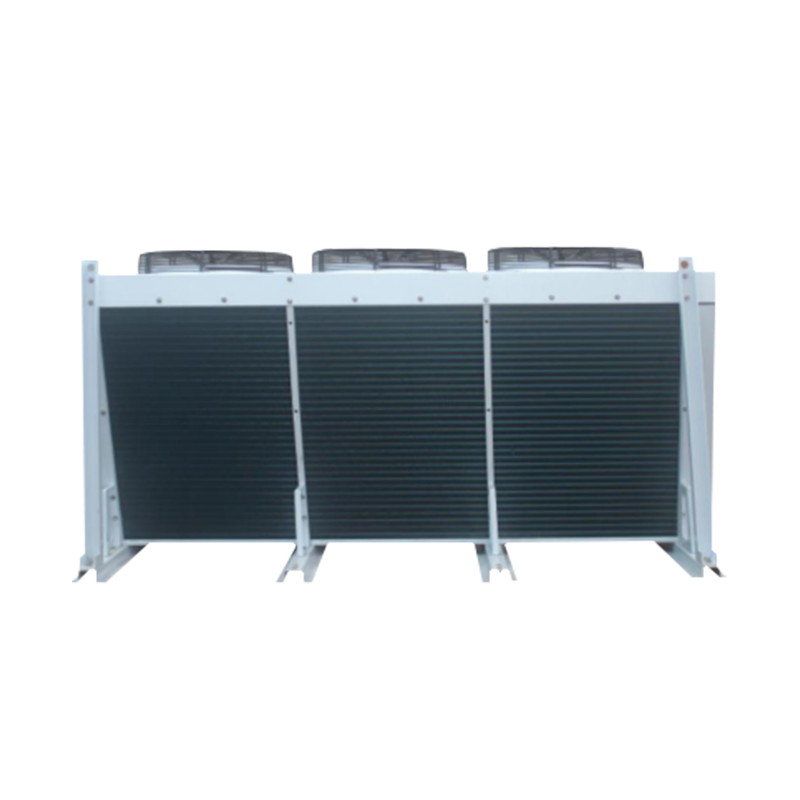
- Outdoor air-cooled: The most common type. Reject heat to outdoor air via a condenser fan. Simple, cost-effective, but performance degrades at high ambient temperatures.
- Indoor (remote condenser): The condensing unit is installed inside a mechanical room with a separate remote condenser on the roof. Useful where outdoor space is limited or where heat recovery is desired.
- Water-cooled: Uses water instead of air to reject heat. More efficient at high ambient temperatures and smaller footprint, but requires a cooling tower or condenser water loop and higher water costs.
Step 5 — Account for Ambient Temperature and Location Conditions
A condensing unit rated at 5 tons at 95°F ambient may only deliver 4.2 tons at 110°F ambient — a 16% capacity loss on the hottest days when demand is highest. This is one of the most commonly overlooked factors in sizing.
Key location factors to assess:
- Design ambient temperature: Use the 1% or 0.4% design dry-bulb temperature for your location from ASHRAE climate data, not average summer temperatures.
- Microclimate effects: Units installed near heat-generating equipment, in enclosed mechanical rooms without proper ventilation, or on dark rooftops can see effective ambient temperatures 10–20°F (6–11°C) higher than outdoor air temperature.
- Altitude: At elevations above 3,000 ft (900 m), air density decreases, reducing condenser fan airflow and heat rejection capacity by approximately 3–5% per 1,000 ft (300 m) of elevation.
- Recirculation: Ensure discharge air from the condenser fan cannot recirculate back to the inlet. Even 10°F (6°C) of recirculation can reduce capacity 5–10% and raises energy consumption significantly.
Step 6 — Evaluate Efficiency Ratings and Operating Costs
First cost is only part of the picture. For commercial refrigeration systems that run continuously, energy costs over a 10-year period often exceed the initial equipment purchase price by a factor of 3 to 5.
Key Efficiency Metrics
- EER (Energy Efficiency Ratio): BTU of cooling per watt of input power at a single rated condition. Higher is better. Used commonly for refrigeration condensing units.
- SEER2 / IEER: Seasonal or integrated efficiency ratings used for air conditioning. These account for part-load operation and are more representative of annual energy use.
- Variable-speed compressors and EC condenser fan motors: Units with these features can reduce energy consumption by 30–50% compared to single-speed alternatives, particularly under part-load conditions, which represent the majority of operating hours.
For a 3-ton commercial refrigeration condensing unit running 16 hours/day in a commercial setting, upgrading from a standard EER of 9 to a high-efficiency unit with EER of 12 can save approximately 1,200–1,500 kWh annually — meaningful savings over a 10–15 year equipment lifespan.
Step 7 — Verify Electrical and Mechanical Compatibility
Before finalizing a selection, confirm these practical compatibility factors:
Electrical Requirements
- Verify available power supply: voltage (208V, 230V, 460V), phase (single-phase vs. three-phase), and amperage. Most commercial units above 5 tons require three-phase power.
- Check Minimum Circuit Ampacity (MCA) and Maximum Overcurrent Protection (MOCP) requirements on the nameplate to properly size wiring and breakers.
- For long line sets (over 50 ft / 15 m), account for voltage drop and potentially upsize conductors.
Refrigerant Line Set Sizing
- Line set length and vertical lift affect both capacity and efficiency. Suction line pressure drop of 2 PSI can reduce system capacity by approximately 2–3% and increase power consumption.
- Manufacturers typically publish maximum line set lengths and vertical separation limits. Exceeding these without engineering review risks oil return issues and compressor failure.
Noise and Vibration
- Check published sound power levels (dB(A)) if the unit is near occupied spaces or in a noise-sensitive area. Scroll compressors are generally quieter than reciprocating types.
- Vibration isolators and flexible line set connections should be specified for any unit mounted on a structure where vibration transmission is a concern.
Common Sizing Mistakes to Avoid
- Using catalog capacity at standard conditions when actual operating conditions differ: Always cross-reference capacity tables at your specific ET and CT, not the published headline rating.
- Ignoring pull-down time requirements: For coolers receiving large warm product loads regularly, the unit must have enough capacity to pull the product down within an acceptable time window without running the compressor beyond its limits.
- Neglecting defrost heat load: In low-temperature freezer applications, defrost heaters cycling on add a significant intermittent heat load that the condensing unit must handle during and after defrost cycles.
- Assuming one evaporator per condensing unit: When multiple evaporators are connected to a single condensing unit (common in multi-case retail refrigeration), each evaporator's load and operating temperature must be considered, and the system must be properly balanced with expansion devices and controls.
- Overlooking future load growth: Specify units with at least 10–15% headroom above the calculated load to accommodate future changes in usage without requiring equipment replacement.
Summary: A Practical Sizing Checklist
- Calculate total heat load including transmission, infiltration, product, internal sources, and a 10–15% safety factor.
- Define your required box temperature and derive the design evaporating temperature.
- Determine your design ambient temperature and calculate the expected condensing temperature.
- Select a unit with published capacity at your actual ET/CT that meets or slightly exceeds your calculated load.
- Choose a refrigerant appropriate for the temperature range and compliant with current and anticipated future regulations.
- Confirm electrical compatibility (voltage, phase, MCA, MOCP) with the available power supply.
- Verify line set length compatibility and size refrigerant piping per manufacturer guidelines.
- Evaluate efficiency ratings and calculate lifecycle energy costs, not just first cost.
- Assess installation location for recirculation risk, altitude effects, and microclimate temperature elevation.
Following this structured approach eliminates the most common causes of condensing unit underperformance and premature failure, ensuring you get reliable, efficient cooling for the full service life of the equipment.